Help Center

Everything you need to know about Koda

🔍

No articles matched your search. Try different keywords or contact support.

Getting Started

Koda is available exclusively on the Mac App Store. To install:

  • Open the Mac App Store on your Mac (macOS 14 Sonoma or later required).
  • Search for "Koda" or follow the direct link from toz.red/en/koda.
  • Click Get and authenticate with your Apple ID.
  • Once downloaded, open Koda from your Applications folder or Launchpad.

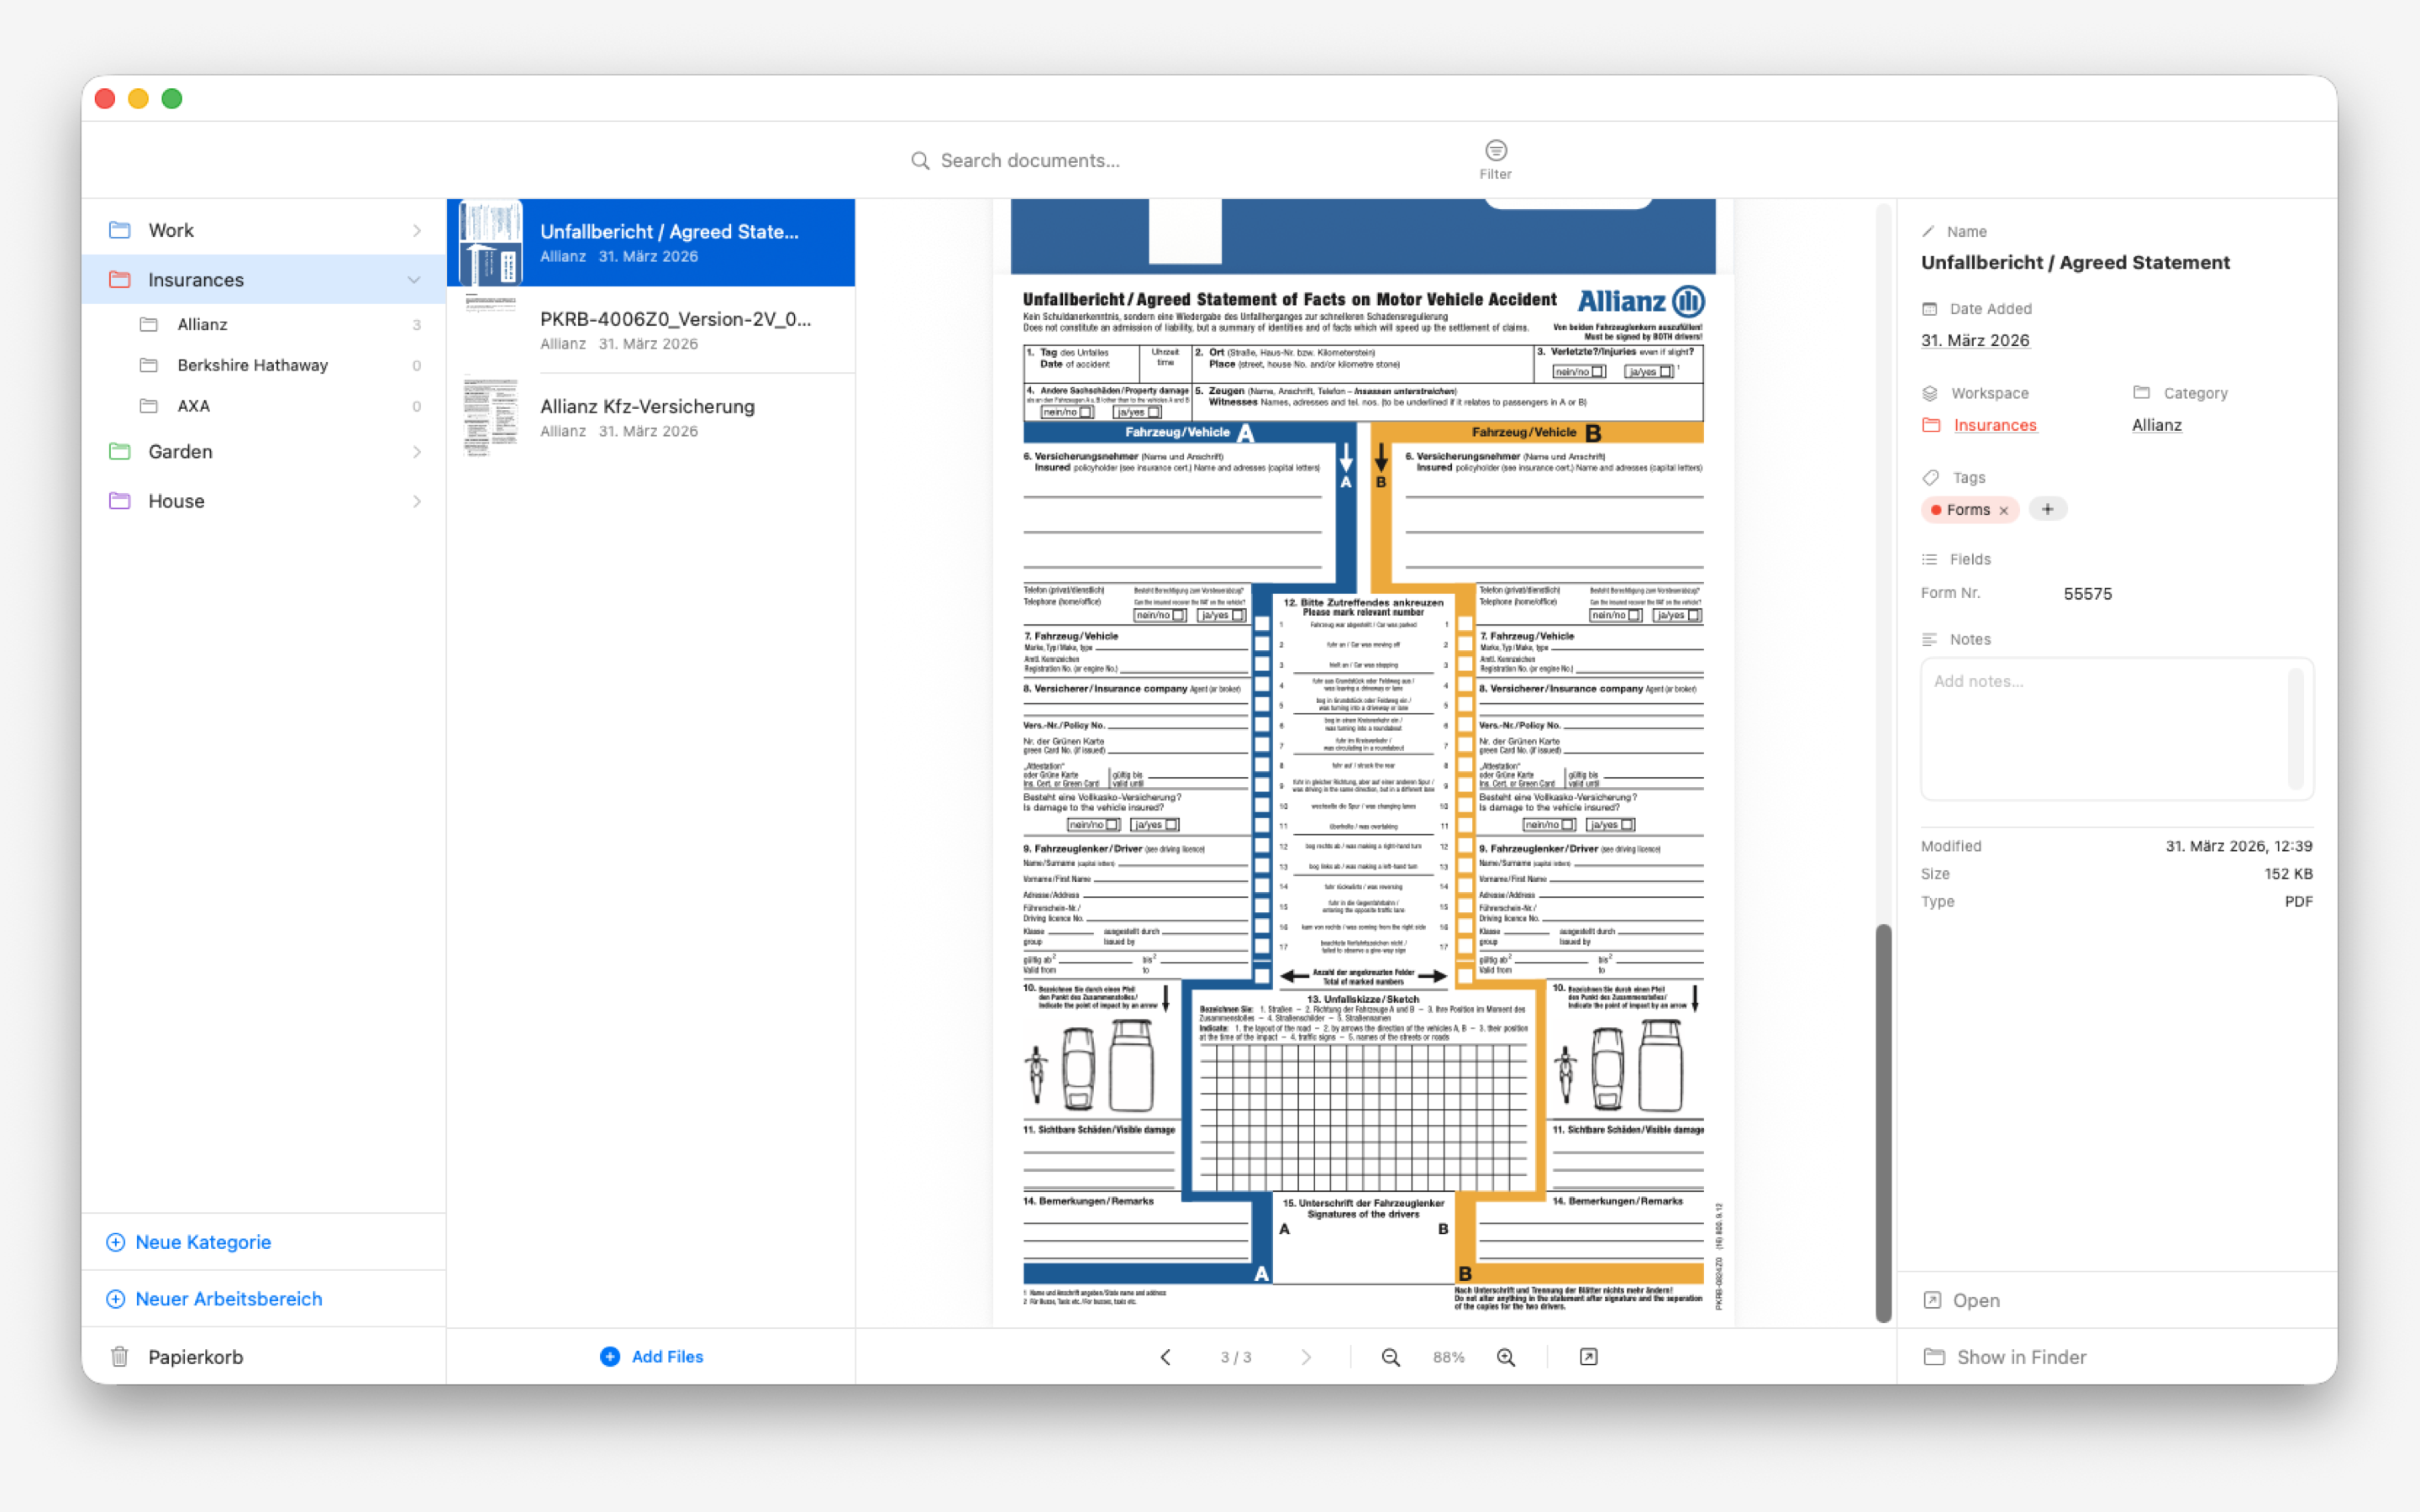
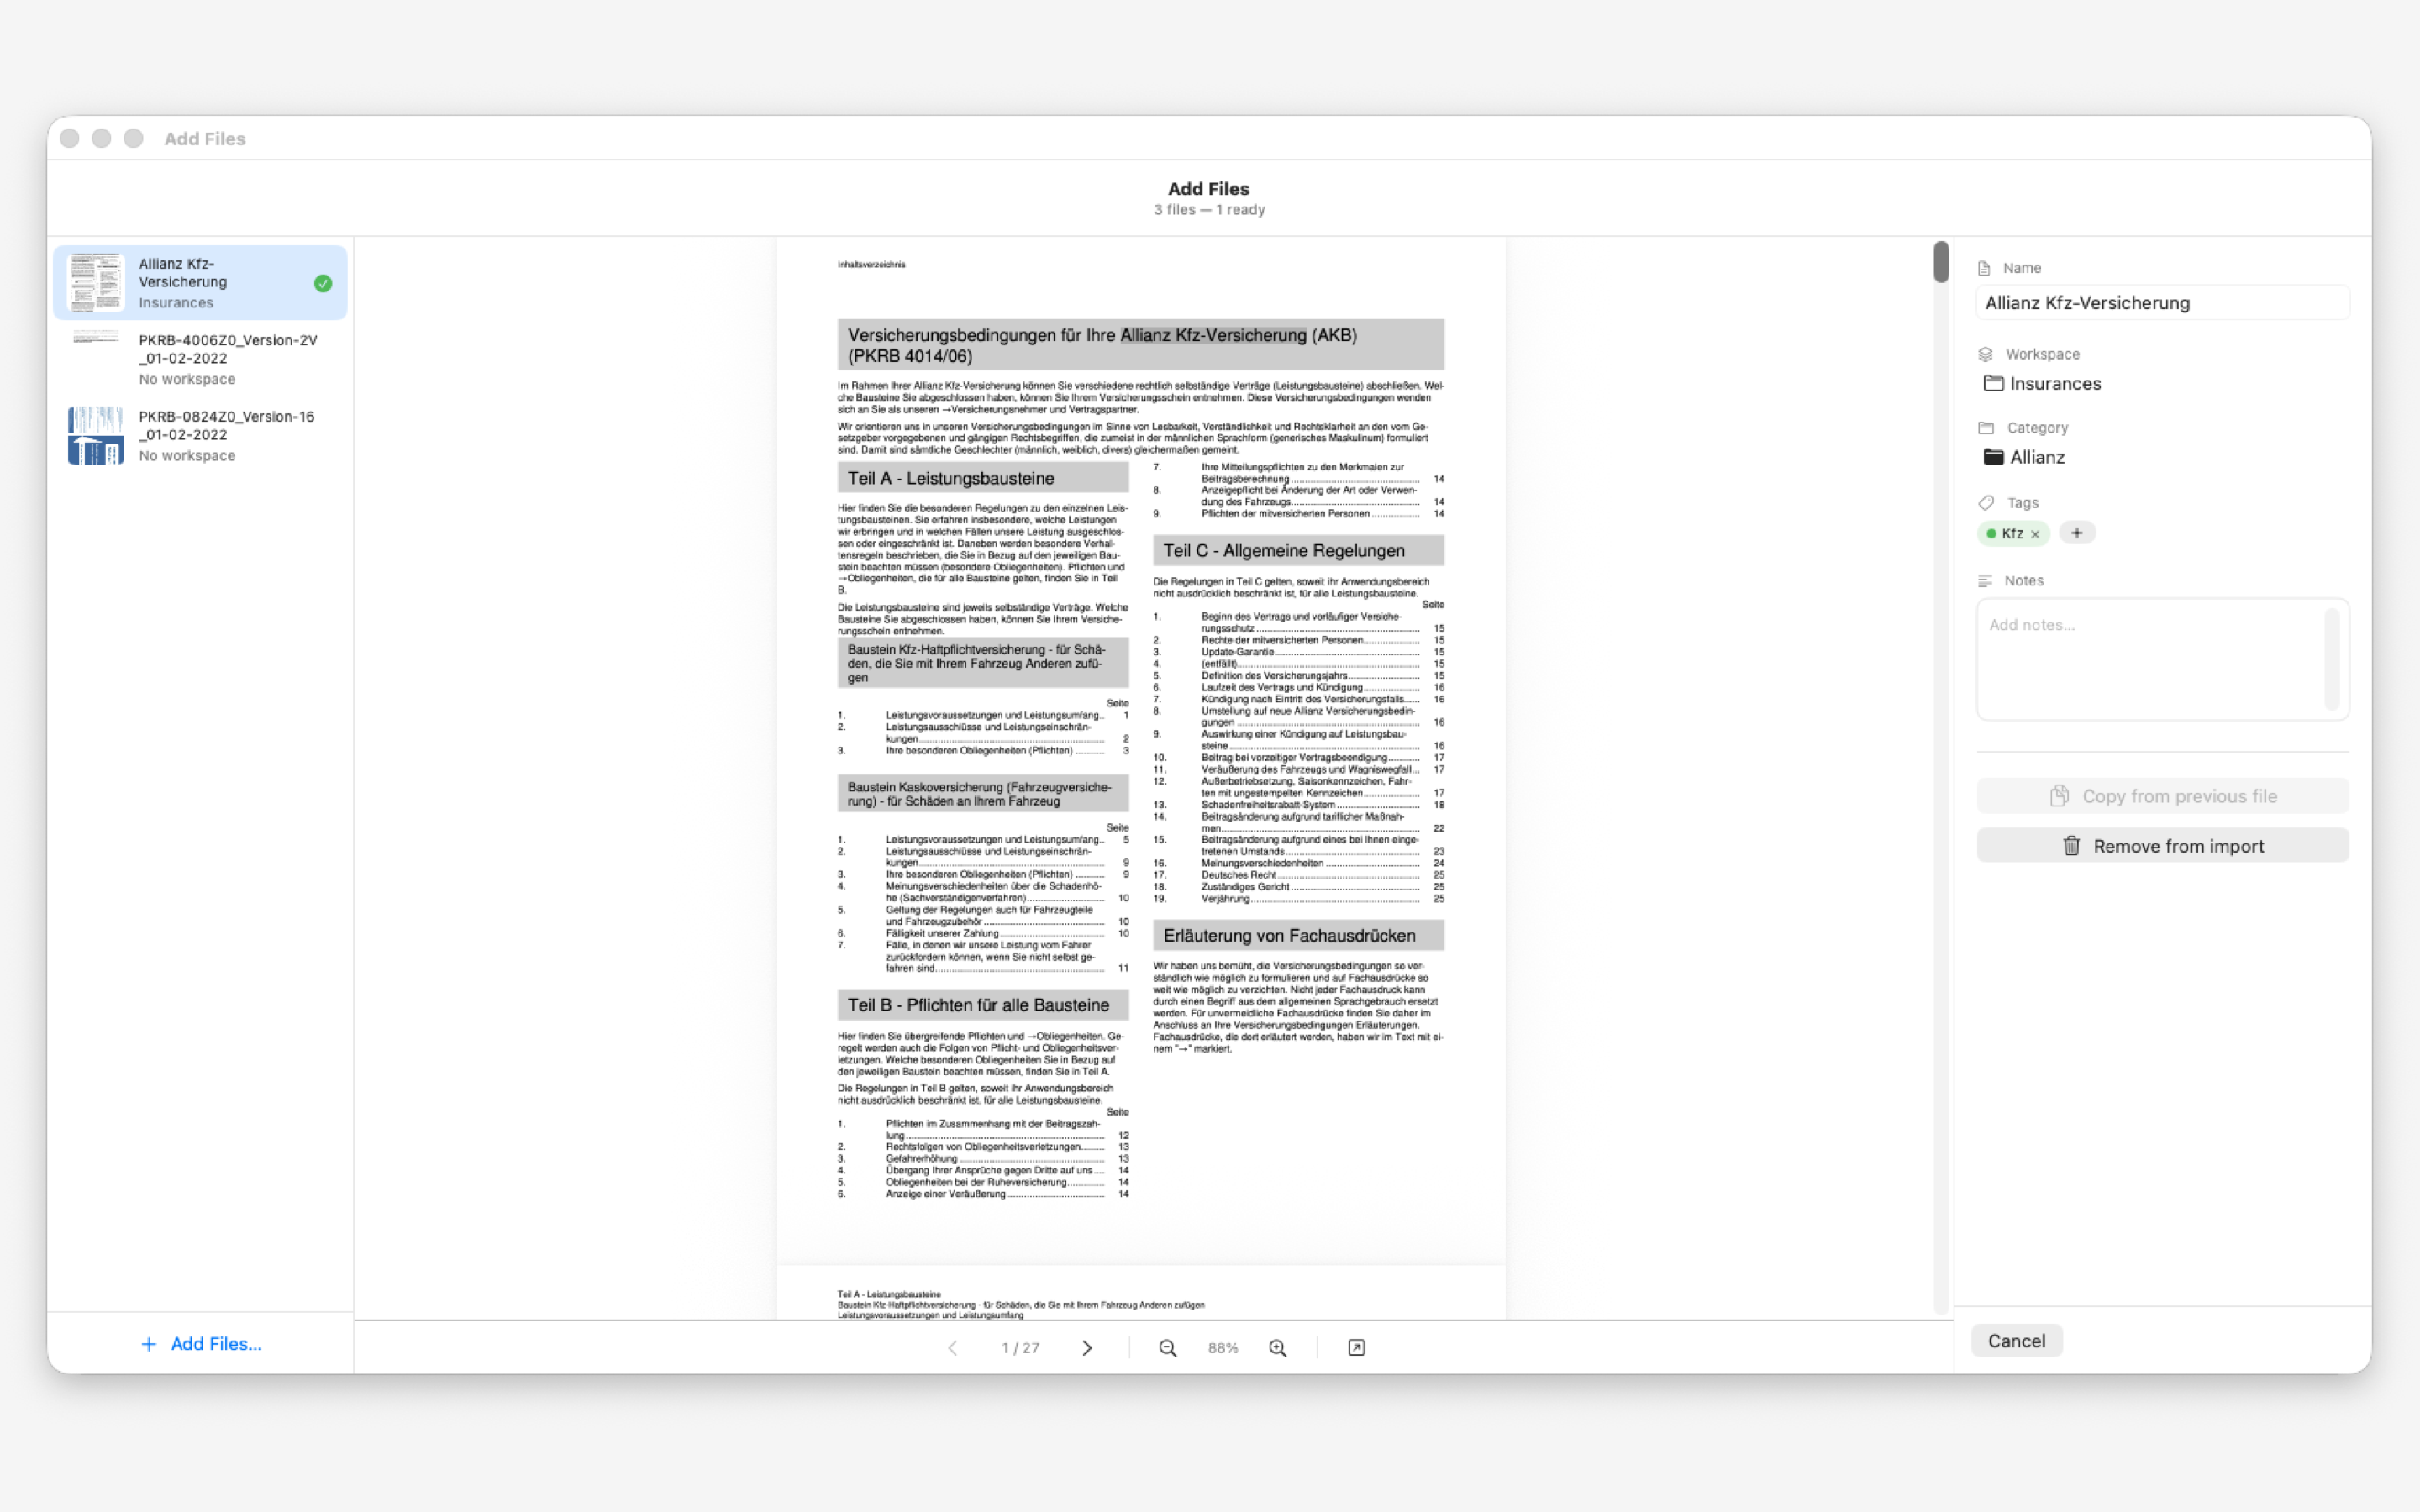
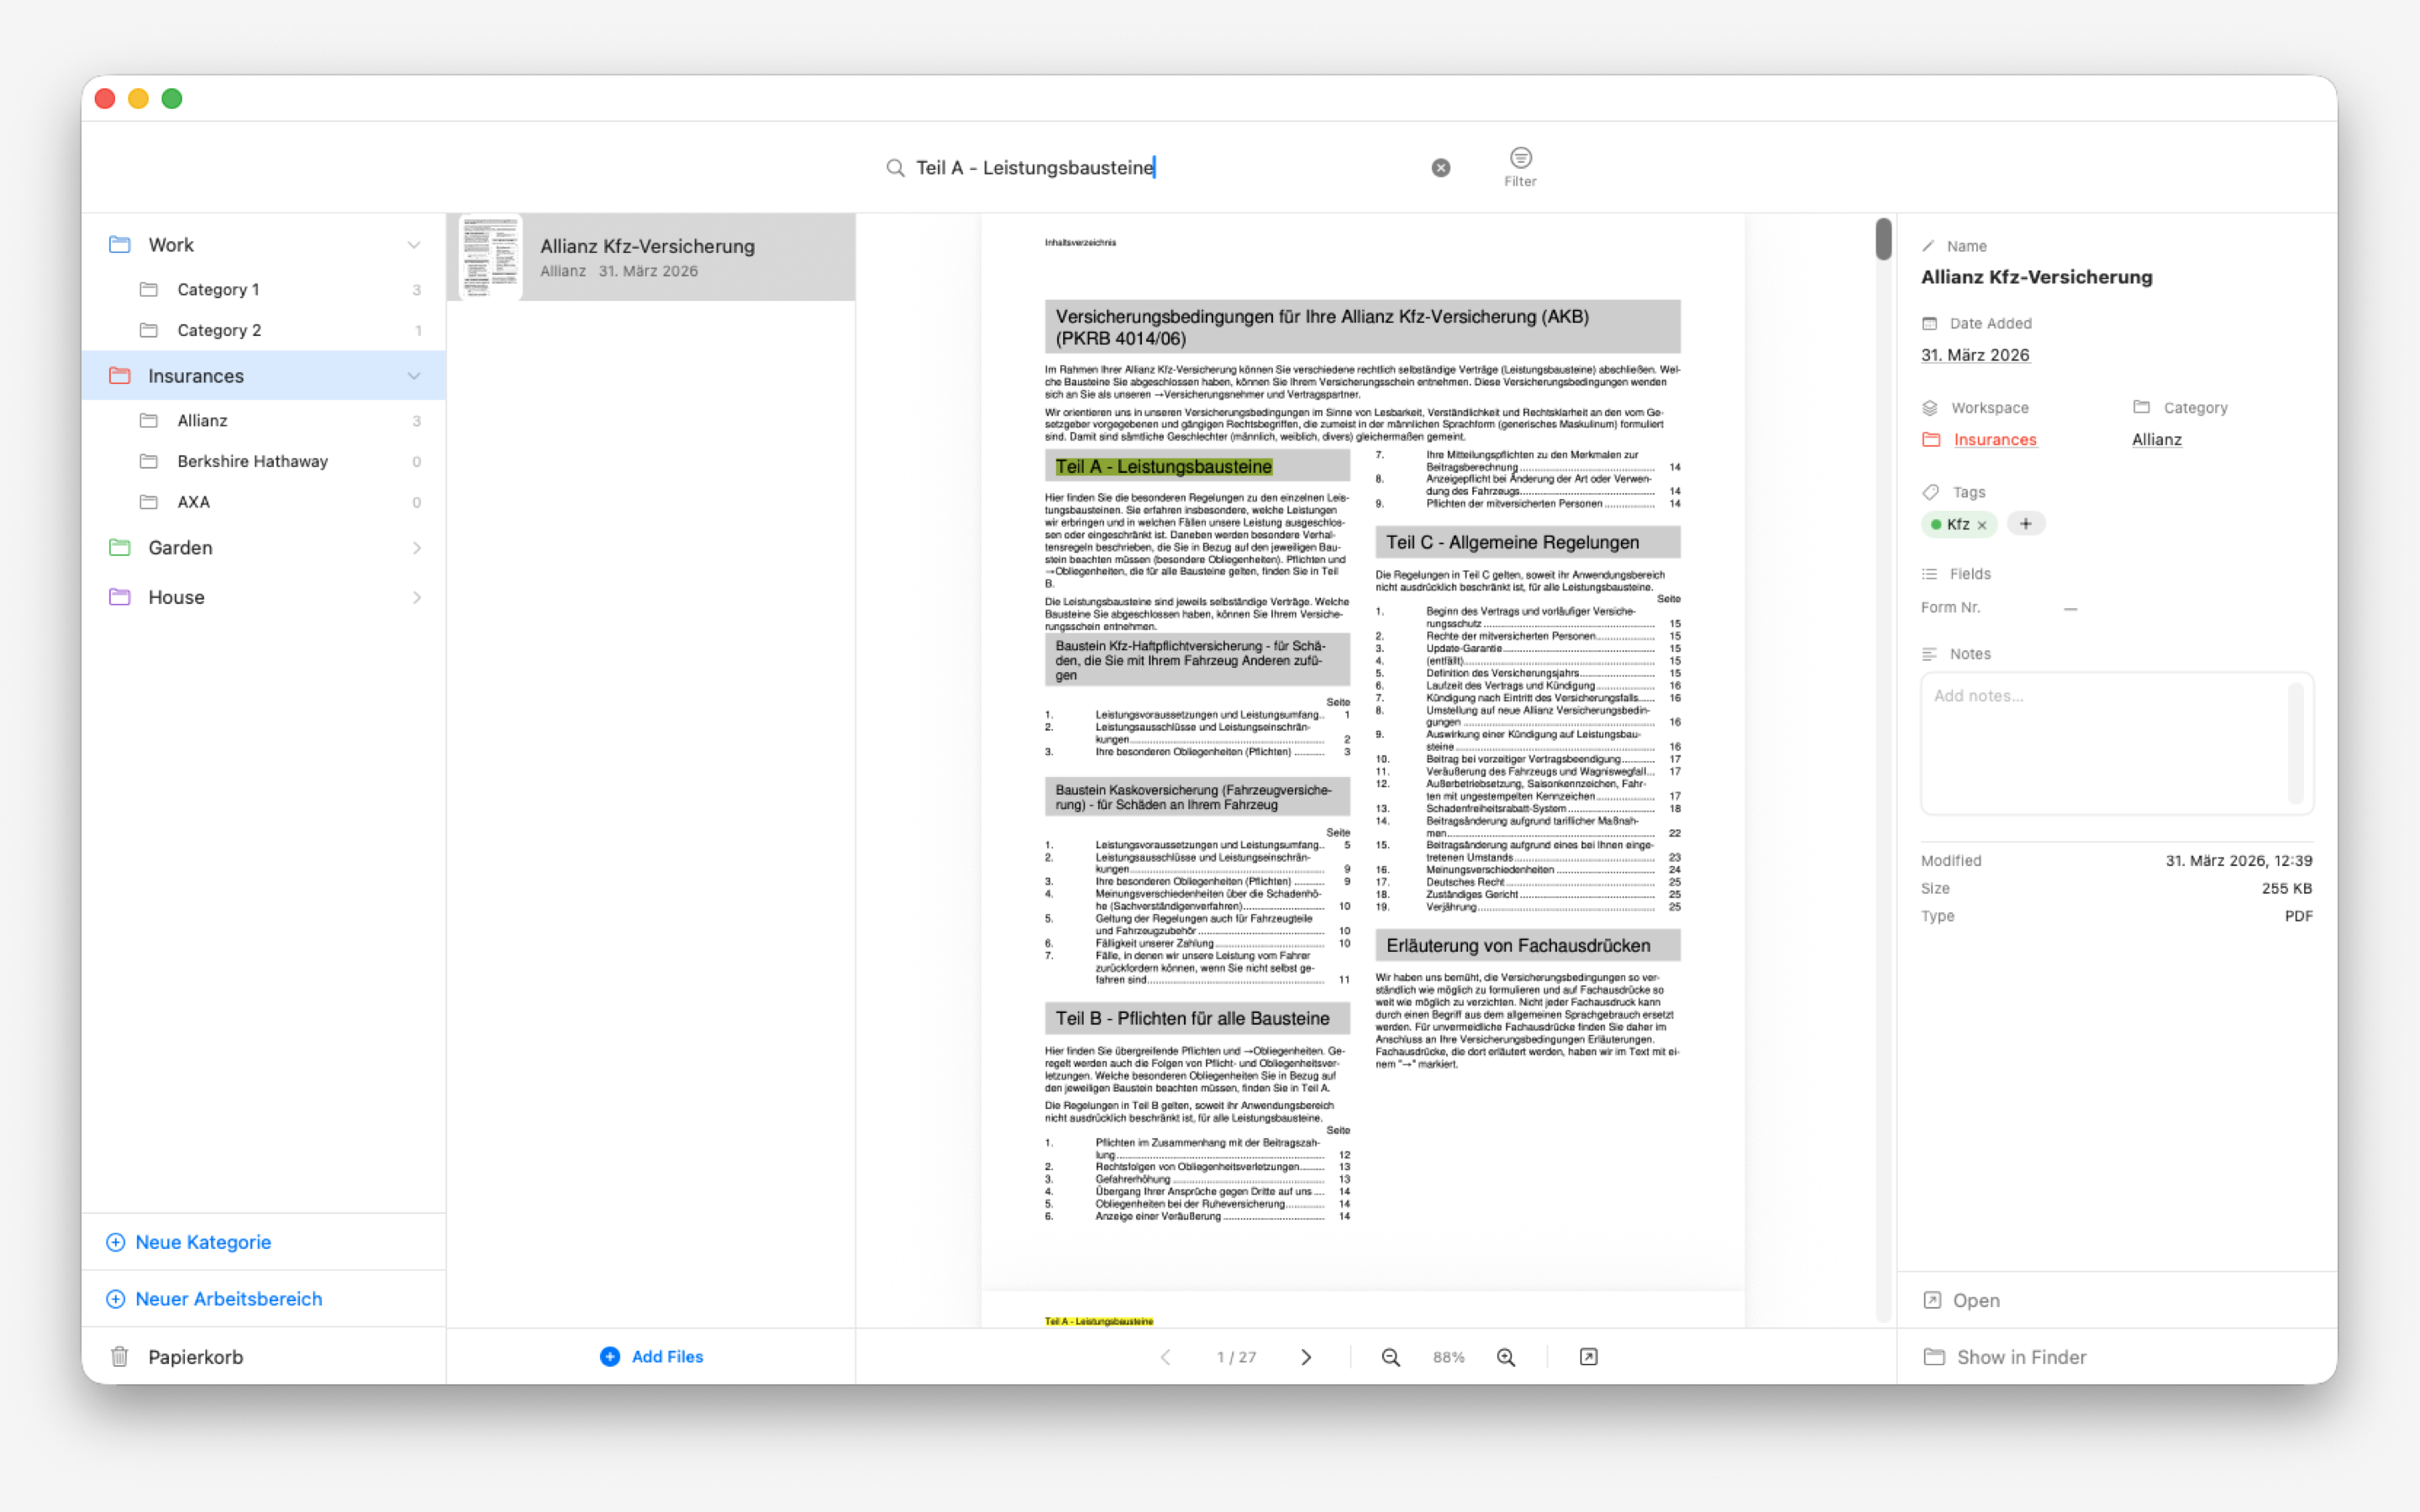
On first launch, Koda may request access to your Documents folder or a folder of your choice. Grant this permission to allow Koda to manage your files.

Workspaces are the top-level containers in Koda — think of them as projects or contexts (e.g. Work, Personal, Invoices).

To create your first workspace:

  • Click the + button in the sidebar, or use ⌘N.
  • Enter a name for your workspace and choose an icon.
  • Press Return or click Create.

Next, add categories inside your workspace to organise documents by type — for example: Contracts, Reports, Notes. Finally, import your first document by dragging a file onto the Koda window.

Workspaces & Categories

Workspaces appear in the left sidebar and act as top-level folders in Koda.

  • Click + at the bottom of the sidebar or use ⌘N.
  • Type a name and optionally pick a system icon or emoji.
  • Click Create. The new workspace appears in the sidebar immediately.

You can rename a workspace at any time by double-clicking its name in the sidebar. Right-click a workspace to see additional options including delete.

Koda main window showing workspaces and document grid

Categories live inside a workspace and let you further organise documents by type.

  • Add: Select a workspace, then click + Category in the main area.
  • Rename: Double-click any category name to edit it inline.
  • Reorder: Drag categories up or down in the sidebar to rearrange them.
  • Delete: Right-click a category and choose Delete Category. Documents inside will be moved to the workspace root before deletion.

You can move documents between categories and workspaces at any time:

  • Drag and drop: Select one or more documents in the main grid and drag them onto a different category or workspace in the sidebar.
  • Right-click menu: Right-click a document and choose Move to… to pick a destination from a list.

Moving a document updates the file's location on disk inside the Koda managed folder structure (~/Document Manager/WorkspaceName/CategoryName/).

Importing Documents

The easiest way to add documents to Koda is drag and drop:

  • Drag one or more files from Finder onto the Koda window.
  • The Import Wizard opens automatically.
  • For each file, confirm the document title, select the target workspace and category, then click Import.
  • You can also drop files directly onto a specific category in the sidebar to pre-select the destination.

Files are copied into Koda's managed folder — your originals remain untouched.

Koda Import Wizard with file list and metadata panel

Koda supports the following file formats:

  • PDF — full-text search and OCR for scanned pages
  • Images — PNG, JPEG, HEIC, TIFF, GIF, WebP
  • Text — plain text (.txt), Markdown (.md), RTF

Additional formats may be added in future updates. If a format you need is not listed, let us know.

Search & OCR

Koda indexes the text content of every document you import, making it instantly searchable.

  • Press ⌘F or click the search bar at the top of the main area.
  • Type any word or phrase. Results are filtered in real time.
  • Matching text is highlighted in yellow inside the document preview.
  • Search is scoped to the currently selected workspace or category. Switch to All Documents to search everywhere.
Koda full-text search with highlighted results in PDF preview

Koda automatically uses Apple Vision to run OCR (Optical Character Recognition) on scanned PDFs and image files that contain no machine-readable text.

  • OCR runs in the background after import — no action needed from you.
  • Once complete, the document becomes searchable just like any native PDF.
  • OCR quality depends on scan resolution. 300 DPI or higher is recommended for best results.
  • All OCR processing happens on-device. No data is sent to external servers.

iCloud Sync

iCloud Sync keeps your Koda library in sync across all your Macs signed into the same Apple ID.

  • Open Koda, then go to Koda > Settings… (or press ⌘,).
  • Select the iCloud tab and toggle Enable iCloud Sync.
  • Koda will migrate your local database to your private iCloud container. Existing documents are preserved.

iCloud Sync requires an active internet connection and sufficient iCloud storage. Your data is stored in your private iCloud container — toz.red has no access to it.

If documents are not syncing as expected, try the following steps:

  • Check your internet connection — iCloud requires connectivity to propagate changes.
  • Check iCloud storage — Go to System Settings > Apple ID > iCloud and ensure you have available storage.
  • Sign out and back in — In System Settings, sign out of iCloud and sign back in (does not delete local data).
  • Restart Koda — Quit and reopen the app. Sync resumes automatically.
  • Wait — iCloud can take a few minutes to propagate large changes. Check again after a short wait.

If the problem persists, contact support and include details about your macOS version and iCloud status.

Troubleshooting

If Koda fails to launch, try these steps in order:

  • Check macOS version — Koda requires macOS 14 (Sonoma) or later. Go to Apple menu > About This Mac to confirm your version.
  • Force quit and reopen — Press ⌘⌥Esc, select Koda if listed, click Force Quit, then reopen it.
  • Restart your Mac — A full restart clears transient system issues.
  • Reinstall from the Mac App Store — Open the Mac App Store, go to your Purchased apps, and reinstall Koda. Your data will not be affected.

If none of these steps help, please contact support.

If documents you previously imported are no longer visible:

  • Check the workspace filter — Make sure you have All Documents selected in the sidebar, not a specific workspace that doesn't contain those files.
  • Search by filename — Use ⌘F and type part of the document's name.
  • Check iCloud status — If iCloud Sync is enabled, documents may still be downloading. A progress indicator appears in the status bar while syncing.
  • Check the managed folder — Open Finder and navigate to ~/Document Manager/ to verify the files are present on disk.

If your documents are genuinely lost, contact support as soon as possible with details of when they were last visible.

Can't find what you're looking for? We're happy to help.

  • Email: info@toz.red
  • Please include your macOS version, Koda version (found in Koda > About Koda), and a description of the issue.
  • We aim to respond within 1–2 business days.